We can use web service in any type of application. Here we will create an application .Net web application. For that, we will follow the following steps:
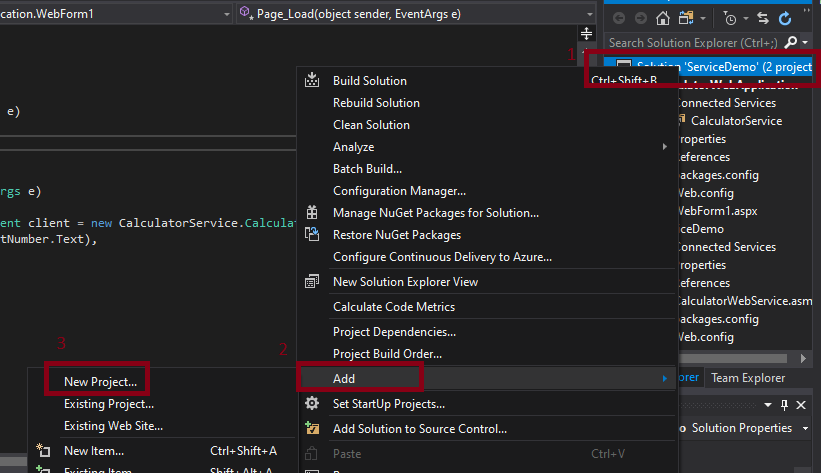
Step1: Right-click on the Solution explorer->Add->New Project as shown in the below screenshot:
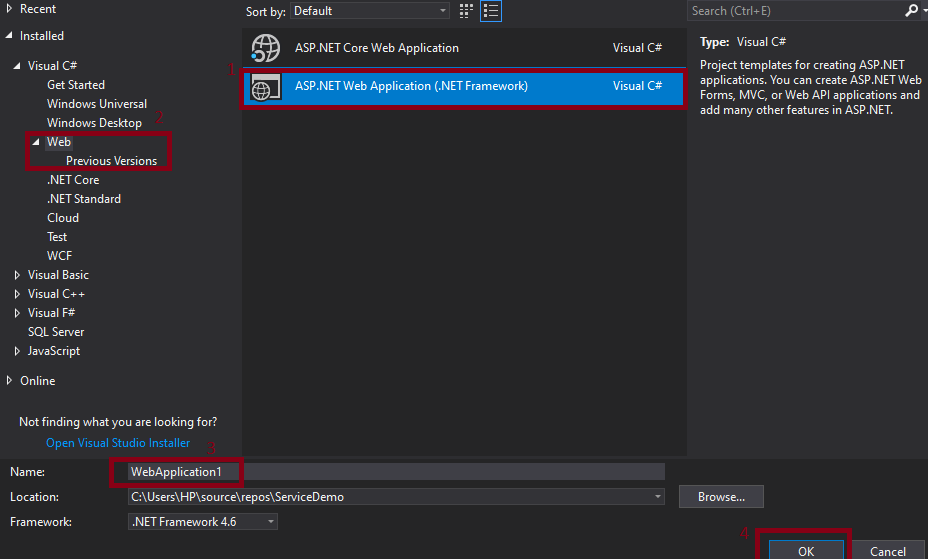
Step2: After clicking on the New Project a new window will open as shown in the below screenshot:
Step 3. After this, to communicate with the web service, we have to create a proxy class. To create the proxy class, we have to follow the following steps:
Proxy Class
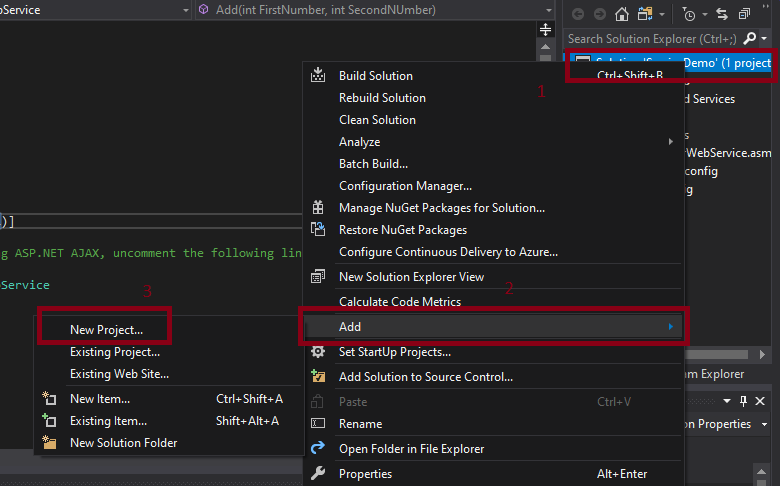
For creating the proxy class, we have to the right click on the References->Select Add Service Reference as shown in the below screenshot:
After clicking on the Add Service Reference, a new window will appear as shown in the below screenshot:
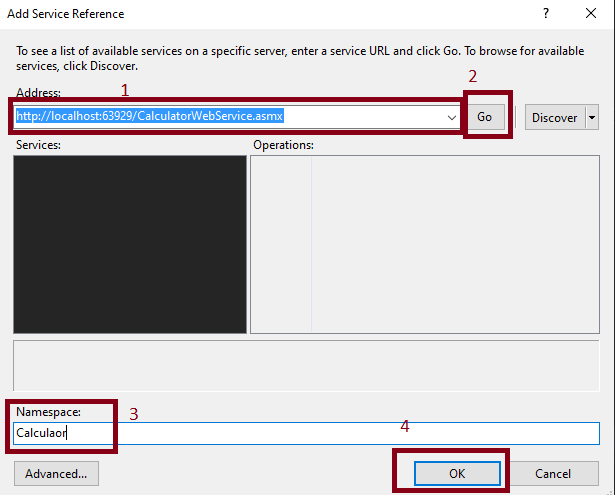
Explanation of the above window:
Address: Here, we will paste the URL of the web service created by us and then click on Go.
After clicking on the Go button, this will search the provided address.
Namespace: in the namespace, we will provide the name of the Service and then click on the OK button. This will add the reference to the web service in the project.
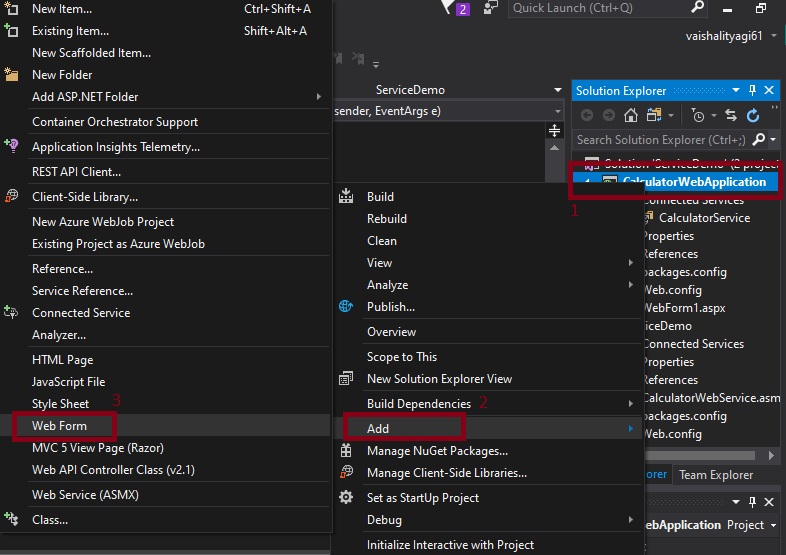
Now we will add the Web Form in our application. For that, we will follow the following steps:
1. Right-click on the project in the solution explorer-> select add->choose web form as shown in the below screenshot:
After clicking on the Web Form, this will open a new window where we have to provide the name of the web form as shown in the below screenshot:
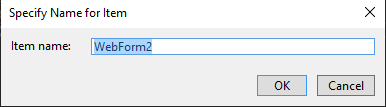
Here in the above screenshot, we gave the name of the web form and then click on OK.
In the Web Form, we will create a table to use the predefined method with the help of the Web Service.
In the WebForm1.aspx, we have done the following coding as shown in the below code:
In the above code, create a table where we take the two textboxes, textbox1, for entering the firstnumber and the textbox2 for entering the SecondNumber. Create a button with the help of which we will add the two numbers.
The designing view of the above code is as shown in the below screenshot:
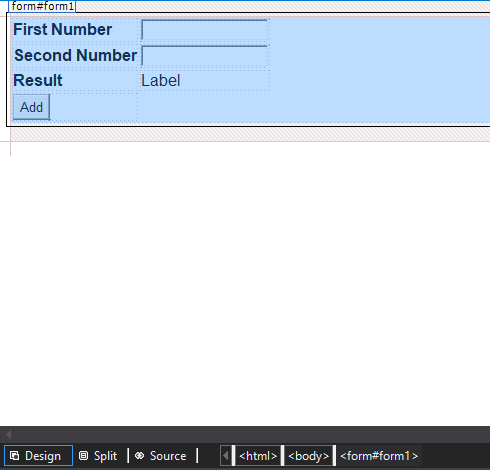
Here we have taken two textboxes for entering the firstnumber and secondnumber. The add button is used to add the value of both the textbox.
After double-clicking on the Add button, this will switch us to the coding page. The page is WebForm.aspx.cs.
To use the method of the Web Service, we will do the following code on the button click.
WebForm.aspx.cs
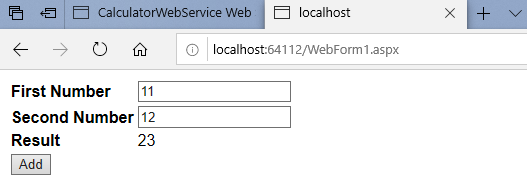
Now we will press F5 to start the web service. The output will look like as shown in the below screenshot:
OutPut
Wrap Up
Here we got the benefit of the web service in this application. We didn't write any logic for the addition of the two numbers. Here in our calculator web application, we just used the method of the web service. We didn't use any logic for the addition. The above screenshot shows the output of the addition of two numbers, i.e., 23.


No comments:
Post a Comment